Deixe um recado
Se você está interessado em nossos produtos e deseja saber mais detalhes, deixe uma mensagem aqui, responderemos o mais breve possível.
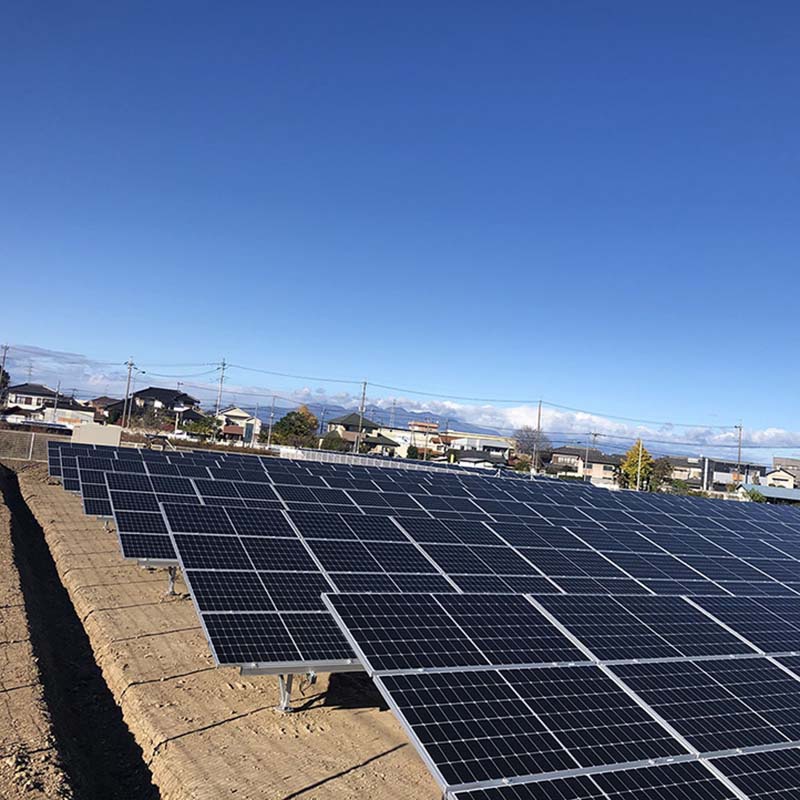
Ao projetar um conjunto de painéis solares no telhadoA estrutura de montagem raramente recebe a devida atenção. No entanto, a escolha entre sistemas de gancho tradicionais e um sistema moderno é complexa.sistema de trilho solarFaz uma enorme diferença em termos de velocidade, segurança e confiabilidade a longo prazo.
Na minha experiência, a melhoria mais subestimada é combinar umpé solar Lcom um projeto adequadotrilho solarJuntos, eles criam uma base mais resistente, mais impermeável e mais rápida de instalar do que as alternativas tradicionais.
Vamos analisar o que torna essa combinação diferente — e por que ela está se tornando o novo padrão.

Pé Solar L– Um suporte de alumínio em forma de L que se fixa diretamente às vigas ou ao revestimento do telhado. Inclui uma base de espuma EPDM selada para impermeabilização.
Trilho solar– O perfil de alumínio extrudado que fica sobre os pés em L e suporta os painéis solares.
Trilho de painel solar– Outro termo para o mesmo trilho, enfatizando seu papel em manter os módulos fotovoltaicos firmemente no lugar.
Suportes de trilho solar– O conjunto completo de componentes (pés em L, parafusos, braçadeiras, tampas de extremidade) usados para fixar o trilho ao teto.
Ao combinar esses elementos, você obtém umsistema de trilho solarÉ modular, ajustável e surpreendentemente simples.
| Recurso | Gancho tradicional | Pé esquerdo + trilho |
| Penetração no telhado | 2 a 4 parafusos por gancho | 1 parafuso por pé L |
| Impermeabilização | Revestimento de chumbo ou borracha | Junta de EPDM pré-instalada |
| alinhamento ferroviário | A posição do gancho é fixa. | O trilho pode deslizar ao longo da parte superior do pé esquerdo. |
| Compatibilidade de materiais | Ideal para vigas de madeira | Trabalha com madeira, aço e concreto. |
A maior diferença?AjustabilidadeCom um gancho padrão, uma vez parafusado, otrilho de painel solarA posição está travada. Se as suas medidas estiverem erradas por 2 cm, você terá que remover os parafusos e furar novamente.
Com umpé solar LA ranhura superior permite que o trilho deslize para frente e para trás antes de ser apertado. Esse simples recurso evita horas de frustração em um telhado de tamanho médio.

Cadapé solar L Vem com uma almofada impermeável aplicada de fábrica. Quando comprimida pelo parafuso de montagem único, cria uma vedação que dura mais do que a vedação feita à mão. Muitos fabricantes agora oferecem garantia de 10 anos contra vazamentos para este modelo.
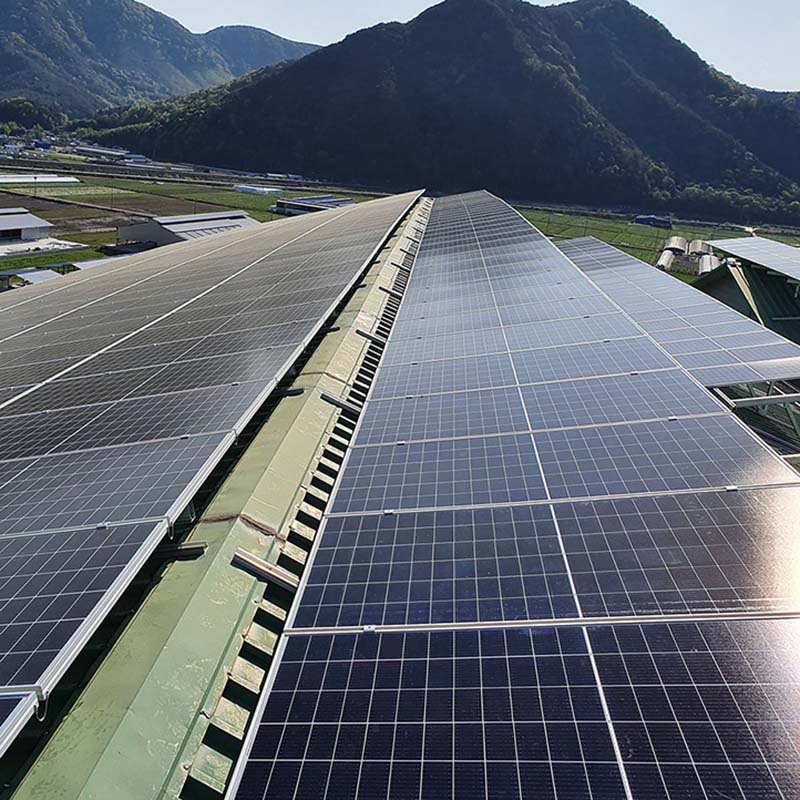
Como não há necessidade de medir ranhuras para ganchos ou cortar chapas de chumbo, as equipes podem instalarsuportes de trilho solaraproximadamente 35% mais rápido. Um membro da equipe posiciona o pé esquerdo; outro encaixa otrilho de painel solarSem espera, sem retrabalho.
Os ganchos tradicionais concentram a força em um único ponto de rosca.pé solar LDistribui a carga por uma área de 20 a 30 cm². Isso é fundamental para telhas asfálticas antigas ou telhas de barro frágeis.
Telhas asfálticas– Montagem direta, encaixe a junta sob a telha acima.
Telhas de barro/concreto– Levante a telha, aparafuse o suporte em L no deck e, em seguida, recoloque a telha sobre o suporte.
Costura vertical metálica– Utilize um adaptador de fixação (sem qualquer perfuração no telhado).
A perna horizontal dosuporte solar de 1 péO trilho se autonivela naturalmente no plano do telhado. Mesmo que as vigas estejam ligeiramente empenadas (comum em casas mais antigas), a base em L ainda oferece uma superfície plana para a montagem do trilho.
Precisa substituir um único painel ou reparar a subcobertura do telhado? Solte o trilho, deslize-o para fora dos pés em L e remova apenas a seção afetada. Você não precisa desmontar metade do conjunto.

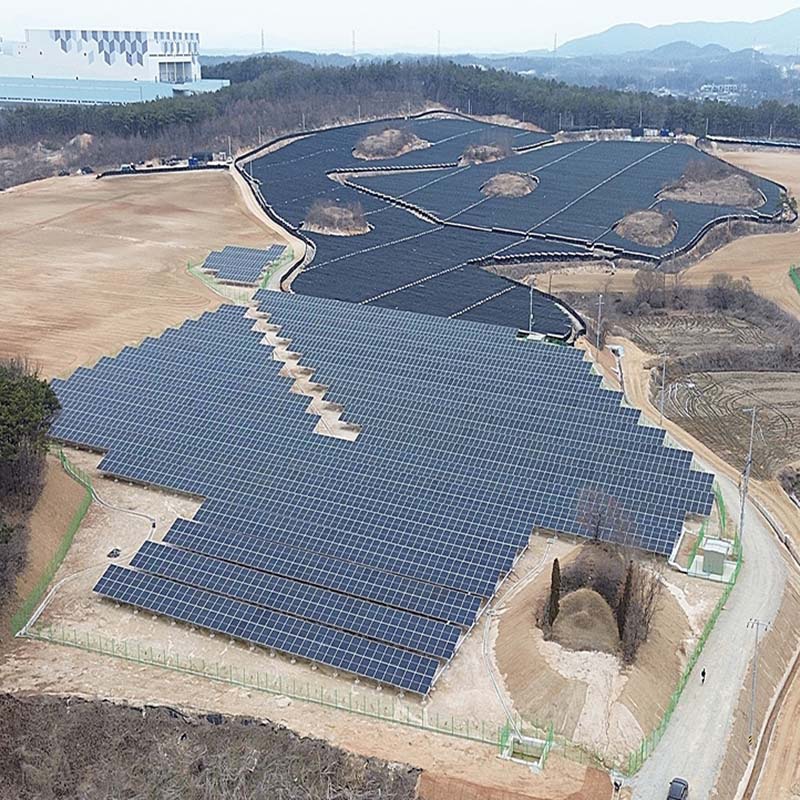
Osistema de trilho solarCom base no formato em L, é ideal para:
Telhados residenciais inclinados (especialmente telhas asfálticas e cerâmicas)
Regiões com ventos fortes ou neve intensa (o sistema de travamento com dois parafusos é muito resistente)
Adaptações onde as conexões existentes estão apresentando falhas.
Isso énãoRecomendado para:
Telhados de metal ondulado com espessura inferior a 0,5 mm
Telhados comerciais planos (use pedestais com lastro ou penetrantes em vez disso)
Grama natural ou telhados verdes (existem suportes especializados de baixo impacto)

Se você pesquisar portrilho de painel solarVocê encontrará diversos perfis. Para sistemas com pés em L, escolha um trilho com uma ranhura aberta na parte inferior (para deslizar sobre a parte superior do pé em L) e um canal superior para grampos de painel. Os comprimentos padrão são de 3 a 5 metros.
Osuportes de trilho solarOs próprios componentes (pés em L, parafusos, emendas) geralmente são vendidos em kits. Certifique-se de que...suporte solar de 1 pé é classificada de acordo com a velocidade do vento local. Uma classificação de 120 mph é típica para a maior parte dos EUA.
Recentemente, acompanhei uma equipe instalando um sistema de 9 kW em um telhado de asfalto de 30 anos. Eles usarampé solar Lsuportes a cada 1,2 metros ao longo de cadatrilho solarcorrer. Otrilho de painel solarA instalação foi feita em linhas retas e niveladas, sem uma única rachadura nas telhas. Toda a fase de montagem dos trilhos levou menos de três horas. O proprietário comentou: "Parece mais limpo do que o sistema do meu vizinho." Essa é a diferença de um metro.
A mudança dos antigos sistemas de fixação em forma de gancho para um sistema projetado especificamente para essa finalidade.sistema de trilho solarcompé solar LA questão das bases não é um mero ajuste — é uma melhoria fundamental na forma como fixamos os painéis fotovoltaicos aos telhados.
Você recebe:
Menos penetrações
Instalações mais rápidas
Melhor impermeabilização
Uma estrutura funcional e duradoura.
Se você estiver especificando ou instalando energia solar em telhados a partir de 2026, inclua o pé solar Letrilho solarNo topo da sua lista de materiais. Seu telhado — e seu eu do futuro — agradecerão.
Cadastre-se em nosso boletim informativo para obter informações atualizadas, promoções e insights.


 Rede IPv6 suportada